Loading...
play.bdcraftforums.com
Click to copy IP
Grammar Guide
This is a guide on when to, and when to not capitalize names of races and peoples. It is made to aid others, as well as staff (namely myself) to keep consistency throughout lore posts and in-game. These rules more or less follow real-life grammar rules, but in some places may be set by just us, even if there are more proper ways of doing so. For example, it is proper to say "those Dwarves in the guild," but we are choosing to go instead with "those dwarves in the guild." Why? Because it looks better, I say!
As a reminder, Peoples is what we refer to as our subraces, such as the Imperials, Gales, Sun Elves, Mer, Ironfists, and so on. Races on the other hand, are the 4 races of Volantis, being Luari, Mer, Human and Dwünīr.
Capitalize names when:
| Speaking of the race as a whole as a proper noun | "The Luari; the Elves; the Humans; the Dwarves; the Dwünīr; the Mer." |
| Speaking of the people group |
"The Star Elves like to wear chupas; I am a Gale; they are Imperials, we do not like Ironfists, she is an Estrela'Lurin." |
| In use of an adjective | "An Ironfist axe; these are Galenean lands; a Joagundric warrior." |
Do not capitalize names when:
| Speaking of a specific group of a particular race | "Those luari; those elves; those humans; those dwarves; those dwünīr; those mer." |
| Speaking of the race as a whole as a general noun | "All elves are tall, all dwarves are short." |
| Speaking of an individual by their Race | "I am an elf; They are dwarves, we are mer, he is a human." |
| Speaking of materials | "I need an ingot of emperium; that fulgurum glaive; jhotasite is rare. |
If more examples would help with understanding, do let me know!
In Progress
Might and Magick: PVP Guide
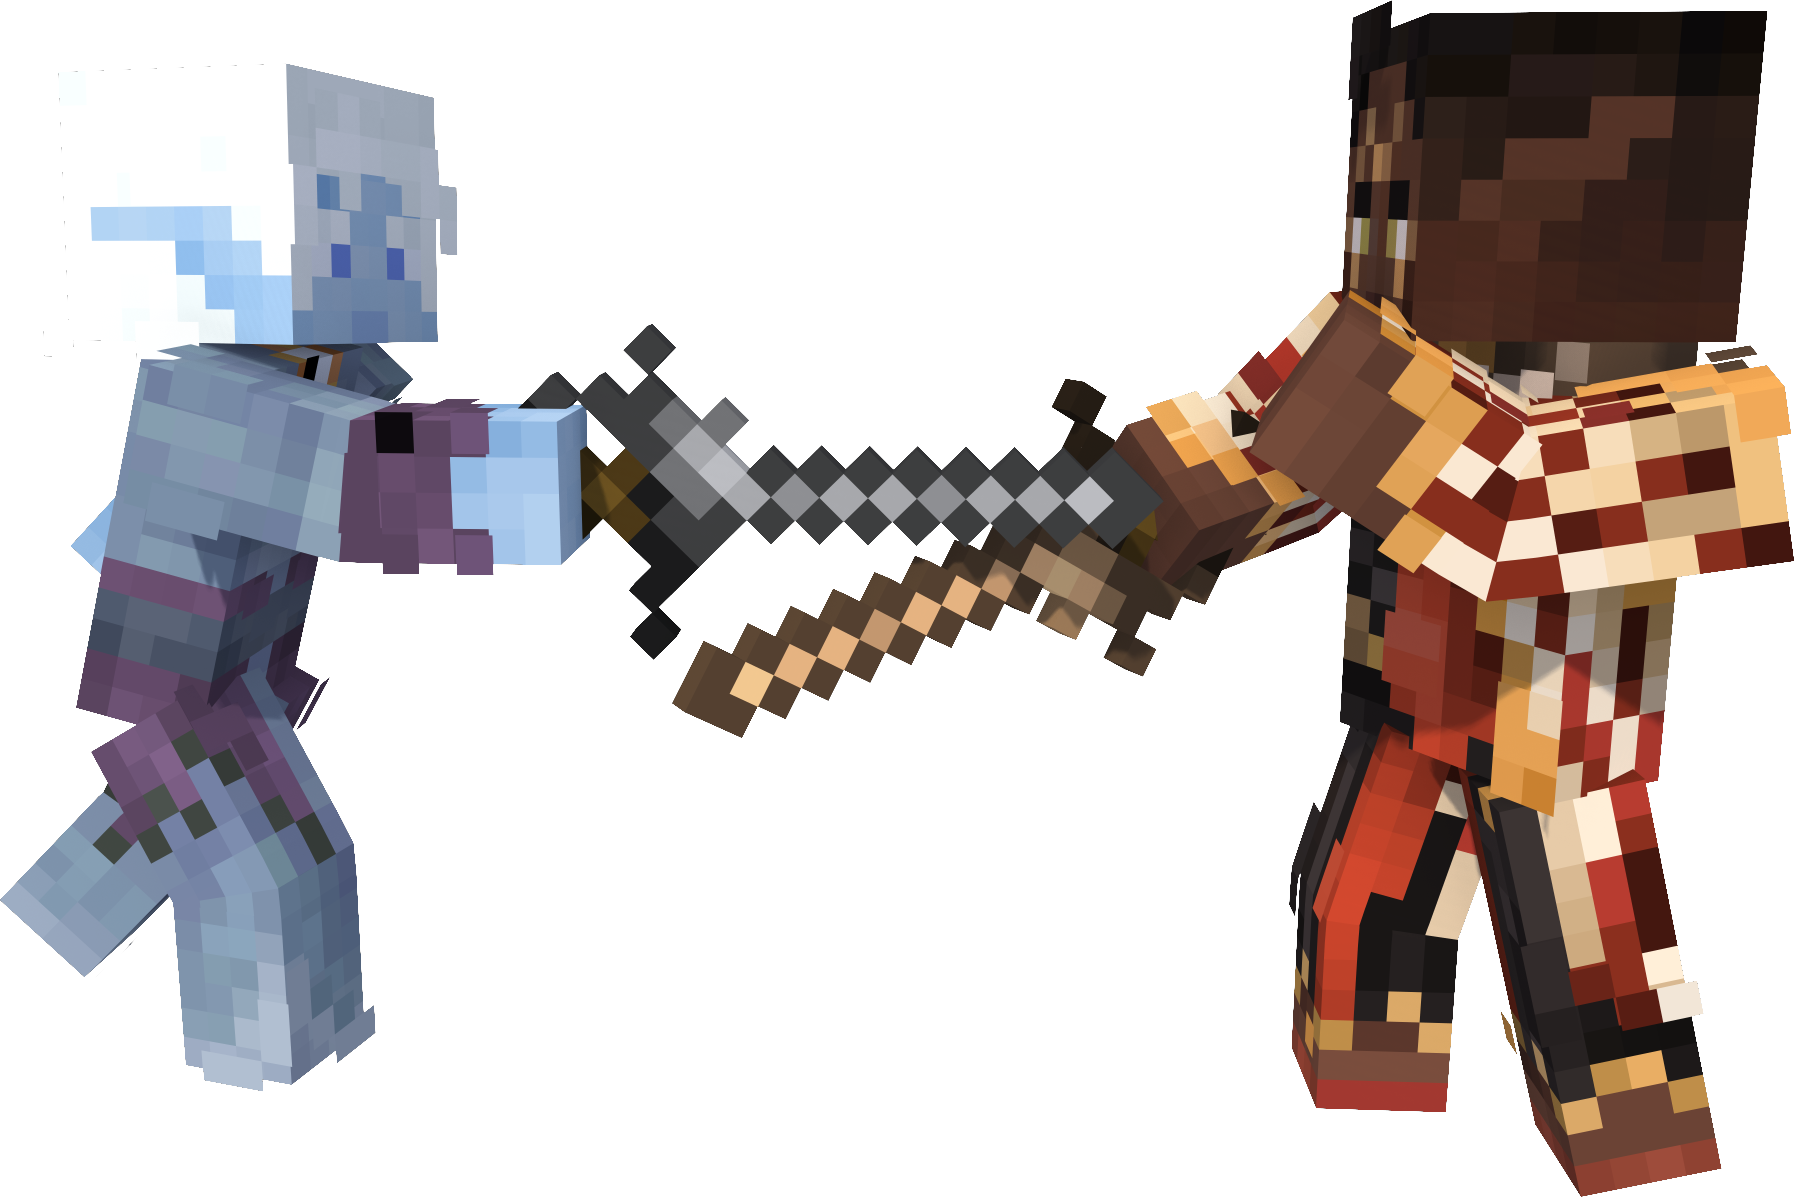
These lands are dangerous, no doubt. In the inevitability that differences can only be resolved with force, BDcraft’s combat systems comes into play.
Roleplay Combat
Roleplay Combat is the default system on our Roleplay server. In Roleplay combat, also called combat roleplay (CRP), players do not left click each other until the other is dead, but rather type out their actions as they do with almost everything else on BDcraft. Following our rules on powergaming and combat, the combatants will take turns dukeing it out, until an outcome is decided. This sort of roleplay is preferred, but requires a level of maturity and humbleness that is hard to achieve, but fostered in our community. Players are encouraged to fight not to win, but to fight and to see the outcome. Being willing to loose sometimes is necessary, as in combat roleplay, one side has to choose to loose, otherwise the combat will go on forever. Not many wish to emote their character failing to react fast enough to a sword strike, but in the case of mature roleplayers who care for a good story even at their own character’s expense, sometimes flaws make for believable stories.
In the case that players cannot agree on the outcome of events, they may introduce rolling. A simple coin flip (/d2) is best, though any dice will do. Whoever has the highest roll gets to emote their attack landing, or their action succeeding. This does not mean that if you win the roll, you have freedom to instantly lop off the other persons head. Rather, it means your emote has precedence. If you emote attacking and they emote dodging, but you win the roll, you can assert that your attack landed as they dodged, for example. Repeat this until one side emerges victorious.
Calls Actions System
In combat, if the honor system and rolling does not work, we offer a unique interaction system. You can do 2 sets of options in roleplay:
Major Action + Minor Action
Minor Action + Reaction
Here is a list of all that you can do in a turn.
Major actions:
Heavy Attack - Inflicts Heavy Damage.
Dash (Away/Towards) - 10 block radius movement. Does not dodge damage.
Brace Shield - Blocks Heavy and Light Damage.
Prepare Dodge - Dodges Heavy and Light Damage.
Break/Secure Grapple - Grabs the opponent, preventing movement, and only allowing Light Attacks. /d20 roll-off to break/secure.
Fire: Let loose an arrow from a bow or arbalest. (Bows do 1 point of Heavy Damage. Arbalests do 2.) (You may not block or attack as your Minor Action)
Draw Arbalest - Draw your Arbalest. Takes 4 turns. (You may not block or attack as your Minor Action, or Reaction.)
Minor actions:
Light Attack - Inflicts Light Damage.
Move (Away/Towards) - 5 block radius movement. Does not dodge damage.
Quick Guard - Blocks Light Damage.
Interact - Drink potion, grab something from your bag, pick up object, ect.
Draw Weapon - Drawing your weapon at the start of combat.
Draw Bow- Draw your bowstring. (You may not block or attack as your Minor Action, or Reaction.)
Reactions:
Light Attack - Inflicts Light Damage.
Move (Away/Towards) - 5 block radius movement. Does not dodge damage.
Parry - Blocks Light Damage AND secures a Light Attack.
Sidestep - Dodges Light Damage AND adds 3 blocks to movement.
Free actions:
Saying something
Small flair like smacking your shield with your sword or anything that does not contribute to giving you an advantage (such as not kicking up dirt)
The way our Action System works is when both players are ready, you will type your 2 actions. One player will start a countdown, and at the end of the countdown both players will send in the chat their intended actions, or Calls - think of it like rock-paper-scissors. After both have sent their message, using our Actions table you will figure out what hits went through, and who took damage. Both players can type up their emotes and send them in either order. If not sure, the person taking the most hits can emote last. It is also advised that you only emote YOUR damage. Let the other player emote the damage they deal, and you emote yours dealt.
Reaction versions of Light Attacks and Move are identical to the Minor Action version, they just allow you to attack twice or Quick Guard/Interact and Move.
Note on attacks: You can only attack within 1 block reach of where you are standing. Two-handed weapons can reach 2. Reminder that this system is inferior to emoting everything yourself through the honor system which is able to capture every nuance of combat. If you are using a ranged weapon, you have to mechanically hit the shot you are trying to take.
Note on defenses: Blocking with a shield will defend yourself from all front-facing damage, but any attacks from behind or the side will land. Dodges will only dodge 1 character's Heavy and Light attack. If two characters both attack you with Heavy and Light attacks, one of the player's attacks are going through to your character.
Note on movement: If you are moving away from someone and they attack you, their attack will land, unless you Parry, Sidestep, Quick Guard, Brace or Prepare Dodge. Even if you move with a Dash and they do not move at all, their attack will take place before you dash away.
Note on the countdown for sending emotes: Players are free to allow each other as much time as they want to send their Calls. However, because players sometimes care more about winning than being fair, they could delay sending their emote to quickly read what their enemy sent, change their Call to something advantageous, and then send it. Because of this, the default rule is that if the emote is not sent within 2-3 seconds of the countdown being called, there is foul play at hand, and the players need to re-roll. Furthermore, because players could intentionally hold their emote knowing that they have a poor Call so they can re-roll, forcing a re-roll more than once is grounds for calling off the CRP and pursuing Mechanical Combat, as well as letting a staff member know so as to keep tabs on if this is a repeating behavior of the player.
Damage
You may emote damage as you see fit, but if you would like a guideline (or if you can’t agree with the other party and are using default rules) then this is for you.
Light Damage: From a Light Attack. Shallow cuts & lacerations, punches, bruises. Might leave some permanent marks, but won’t keep you out of the fight.
Heavy Damage: From a Heavy Attack. Punctures of the skin that don't pierce organs, loss of a finger or toe or ear, bone fractures, harsh knockdowns, small concussions, dislocations.
Critical Damage: 3 Heavy Attacks leads to a critical damage. This includes an eye ruptured, broken vital bones, major internal bleeding, severe blood loss, severe impact trauma to the head, loss of a limb, and so on. Critical damage will hinder your combat abilities greatly, and will likely kill you without treatment.
Death: 2 counts of Critical Damage leads to death, sudden or slow.
Reminder, the above is a guideline only. It is less accurate than roleplaying in the good faith of one-another.
The system is intended for combat in which both combatants are adept at minimizing damage, not taking hits fully, to give a more cinematic experience. The default level of armor presumed is to be leather, the most common defensive level in Volantis. Having no armor or plate armor would obviously change the result of a strike, and common sense and a pinch of research need to be prevalent to ensure a good combat experience. Using a dagger and doing a heavy attack on someone with plate armor would not do Heavy Damage, or even Light Damage. Using a greataxe and doing a light attack on someone with no armor on would not just merely cut them, but rather leave them with life-threatening wounds.
This is the system used for events as well.
Example
So, as a reminder; if you so desired with the Action system, you can choose to brace your shield or prepare a dodge every turn and never get hit. But remember; loosing can be fun!
Though as a reminder, confrontation does not always have to end in exchanging blows! You can choose to ask others about a situation to better difuse it or get around players acting as guards, or sending a letter to a friend of your character who can throw a feast for the guards to get them to leave their posts.
Movement Radius
A picture of the movement radius for your convenience.
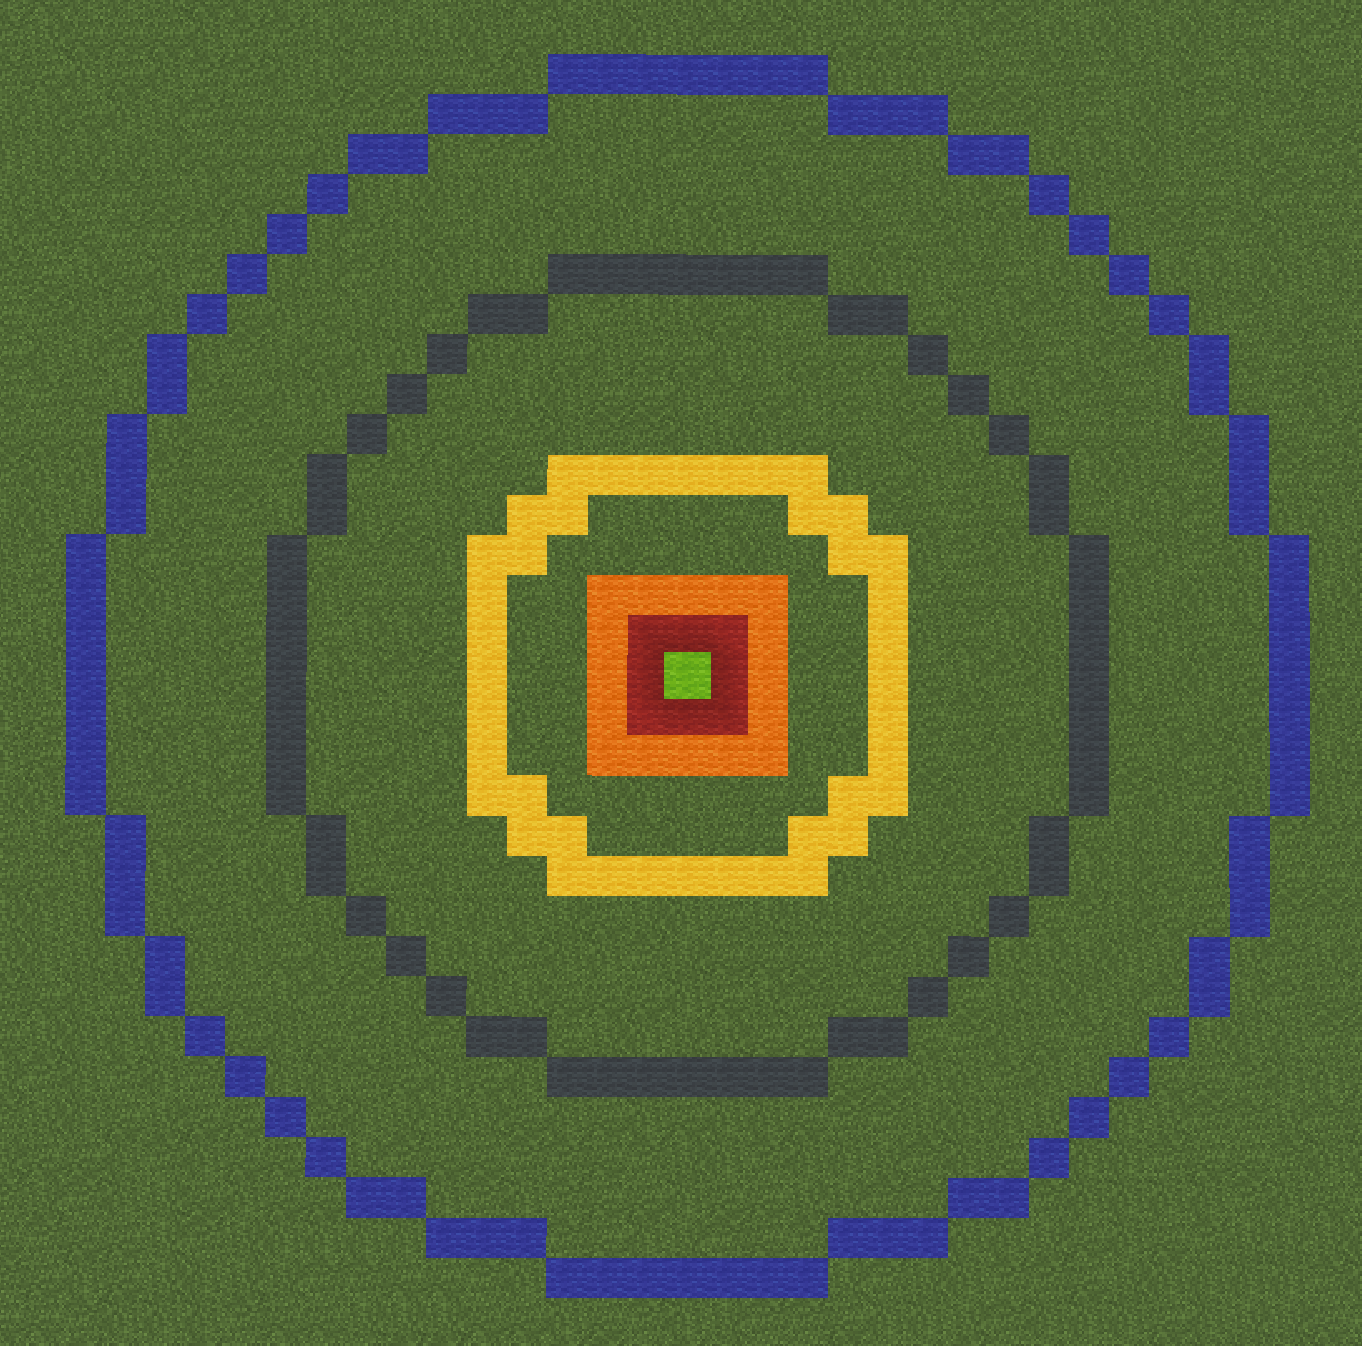
Green: Player
Red: One-handed weapon attack range
Orange: Two-handed weapon attack range
Yellow: Move range (5 blocks)
Gray: Dash range (10 blocks)
Blue: Dash + Move range (15 blocks)
Tips
In all of your emotes, you should aim for, not achieve. For example, you should emote “The knight attempts to dodge to the left” instead of “the knight dodges to the left.” Because combat is not in real time but rather is turn based, you should leave opportunity for the other player(s) to react to something as if they could have in real time.
Another example is "The bandit bashes the incoming sword away with his shield" would be better written as "The bandit goes to bash the incoming sword away with his shield." A very very important note: The other combatant in this example should follow through in their action! Very often, when one player emotes what they want to happen (as is proper), the other player will take advantage of this mutual respect and powergame. If were were to take the example of the bandit and shield, it would be powergaming to say "as the bandit goes to bash the sword, the attacker fakes them out, attacking on the other flank." Instead, you should have the attacker emote "the sword slides off of the face of the shield."
Remember, your character is the one who is fighting, not you. The other combatant(s) are also characters, not the players behind the screen. Don’t let anger seep through the screen into real life, and enjoy the story, win or lose!
You can also turn off player names with /names and show player health with /showhealth.
Mechanical Combat
In the case of disagreements not being resolved in the addition of rolls to the roleplay, or even just from preference, mechanical combat can be used instead. All of the items and gear on BDcraft have been custom made to represent their properties as accurate to Roleplay as possible, so as to ensure the outcome of mechanical combat is approximate to roleplay combat. A lot of things get lost in mechanical combat, but for a simple and clear-cut way of resolving conflict, left-clicking until the other is down is hard to beat. For a list of mechanical combat armaments, check [Metallurgy].
Mechanical combat is subject to our rules of combat, found at [Rules].
Downed Players
When players are defeated in either CRP or Mechanical Combat, they may be downed. When down, a player has 1 minute before they die normally. In that minute, they can be revived with /revive if nearby, or they can be carried away to a safer spot (or perhaps hide them away from the guards searching for them) by doing /carry .
Magick
You may be wondering why the guide is called Might and Magick if there is no Magick to be shown! That is because Magick abides by all of the rules above. Spells and whatever the magick has is dictated into Light and Heavy Attacks as well as Reactions.
Cooking & Farming Guide
Tired of the old stacks of bread sitting in your inventory? Wish there were more to offer in your tavern than recolored bottles of water? BDcraft has you covered, featuring a wide array of craftable cooking items.
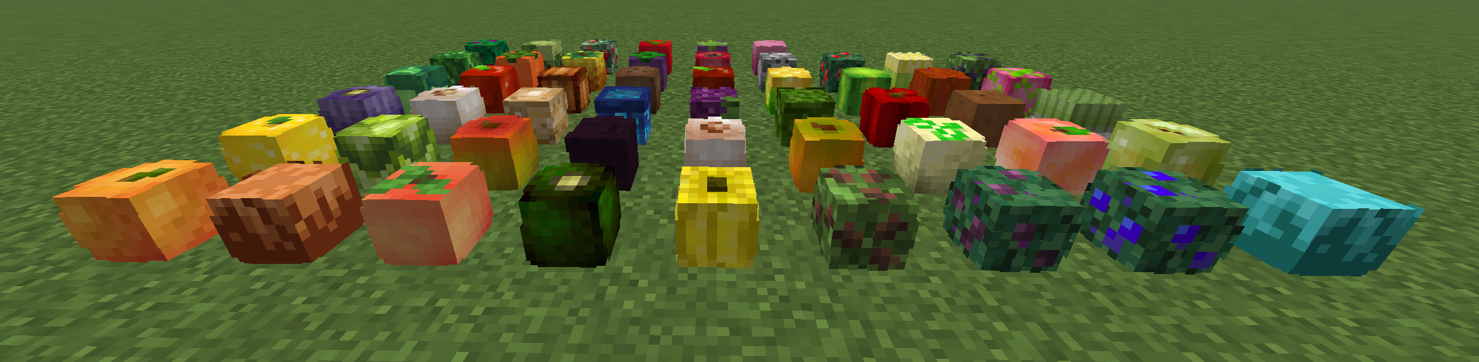
Farming
To start, you simply need access to crops. You can do so by having access to another's farm, or by making your own. You may buy seeds in the Farm Shop. This can be accessed through the menu or by /farm .
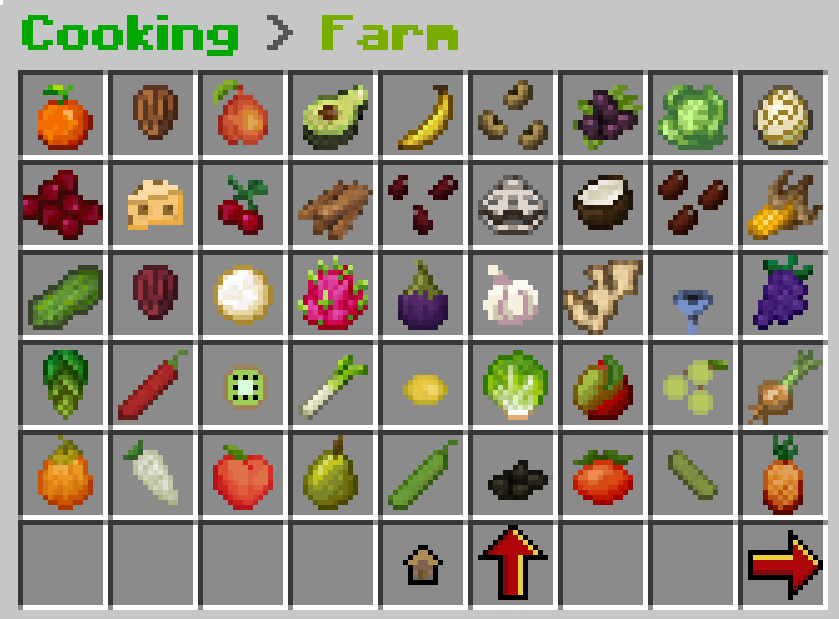
After you purchase your seeds, you may place the head wherever you want, but remember! This is a roleplay server, so try to place it where it is sensible. Place crops in a field, rather than on the ceiling of your kitchen.
Now that your seed is planted, you may harvest it whenever you are ready by breaking it with an iron hoe. This will change the head into a cooldown state, where it will regenerate in 1 hour. Unlike ores, crops do not work off of a personal cooldown, but rather have a global cooldown. Where everyone can mine the same ore in a mine and wait 20 hours to do so again, crops place no cooldown on players, but take 1 hour to regenerate. Watch out for thieves!
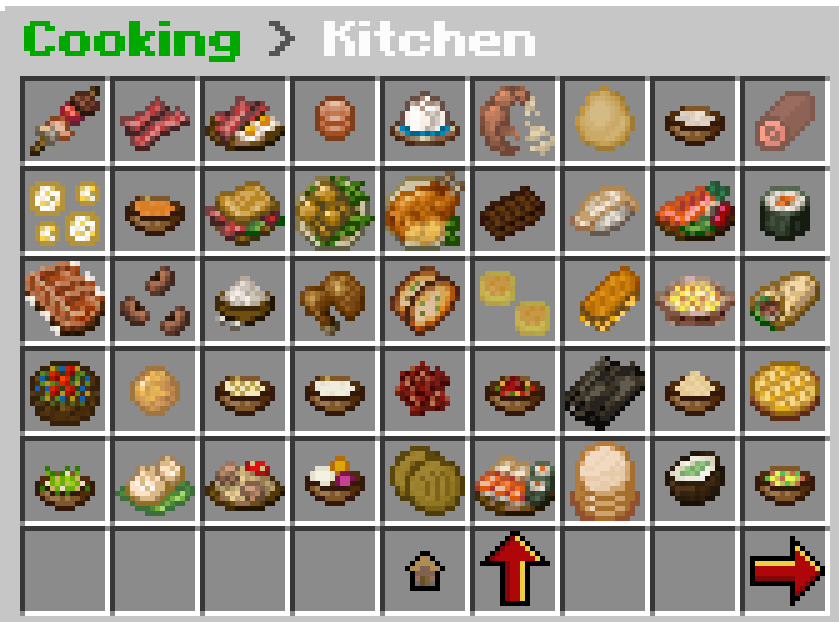
Cooking
Now that you have your bountiful harvest, you may begin turning it into a full meal! Access through the menu or /kitchen . We have a large amount of prepared foods for you to make, all with custom hunger, saturation, consuming speed, and even effects for the most complex meals!
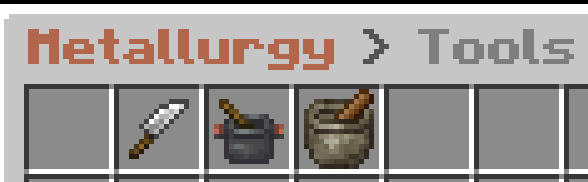
Before you begin, you will need tools. These can be bought from others, or forged in the Metallurgy menu. Accessible through the menu, or with /tools
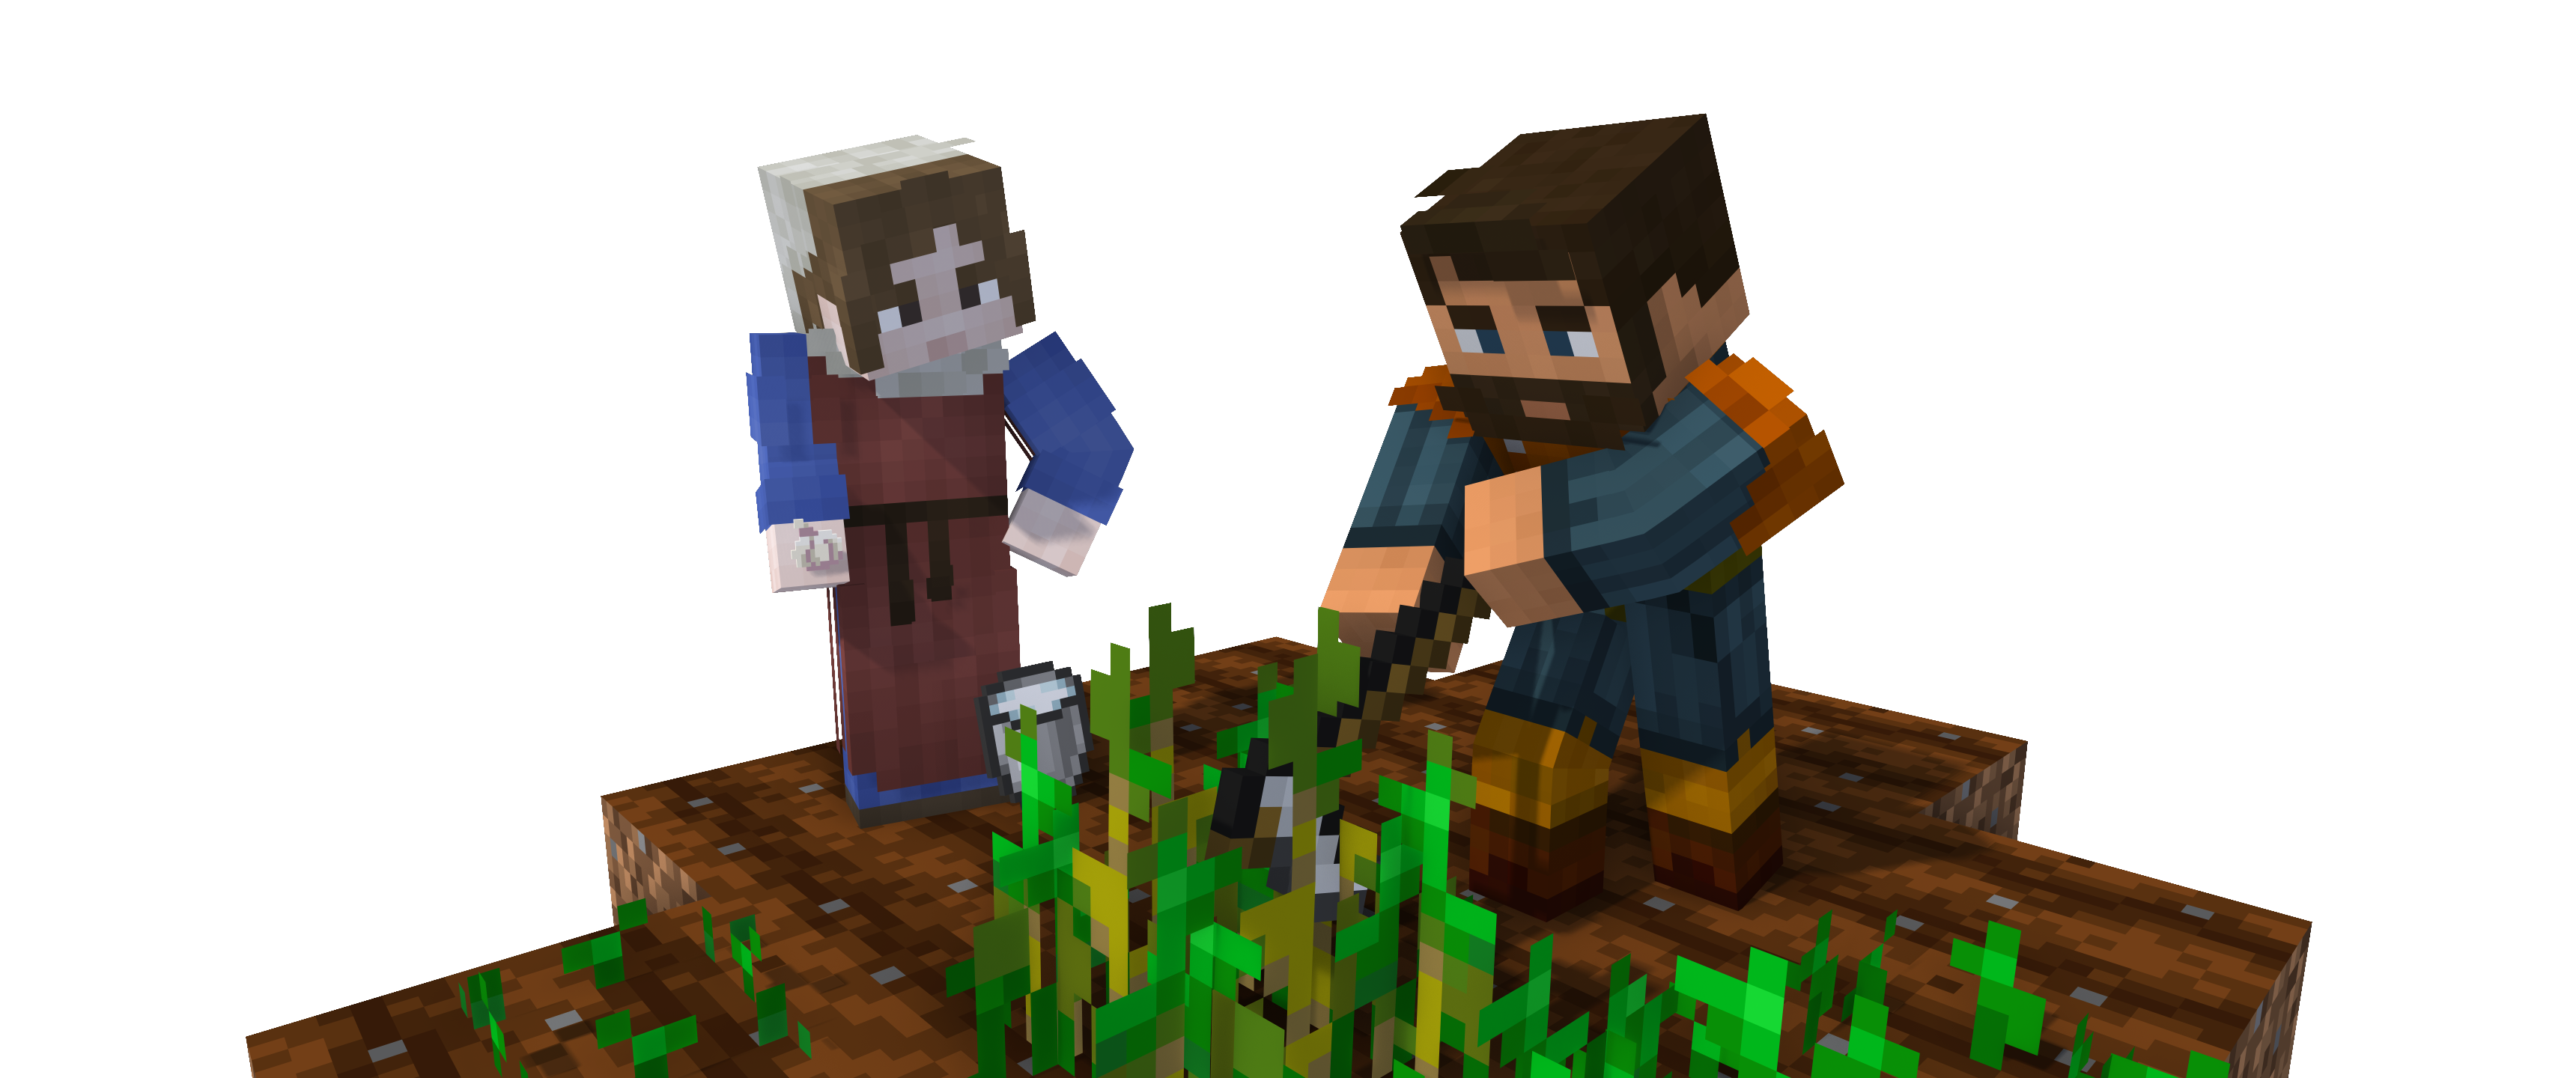
Once you have the knife, pot and mortar, all you need now are the ingredients for your recipe. As with all things BDcraft, it is up to you to find out how to make crafts, but for checking this guide, we will walk through the full process of making Imperial Frumenty, a classic of the Empire of Man.
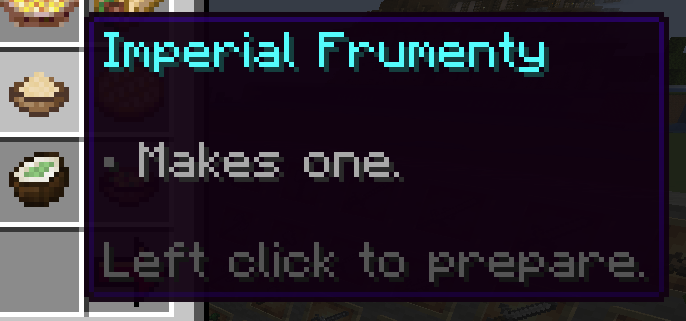
Gather your ingredients and tools, which are: broth, wheat, an almond, and a pot. A pot you have from forging it, wheat you can gather mechanically in vanilla, and an almond you gather from the Farm. The broth, we must make first!
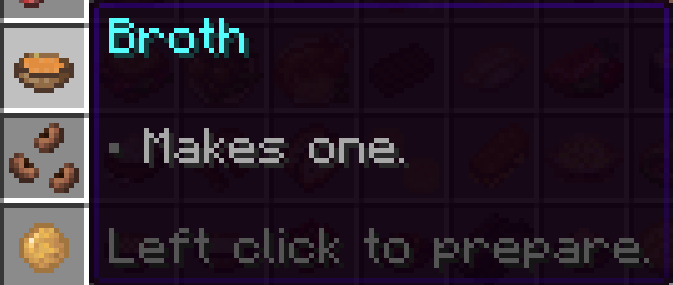
To make the broth, you need a pot, a chicken, and a bowl. Once you have these, click to prepare. Then, you may make the frumenty.
![]()
Just like that, you've yourself a nice meal!
Mechanics Guide

Through the use of our plugins on BDcraft, you are able to do a number of unique interactions with the world not possible with vanilla Minecraft.
Bridges
Bridges are done by setting a rectangle of a single block, and placing signs with [Bridge] at the ends of the blocks in the middle. The signs can go either on top or on the side. Right click the sign to activate.


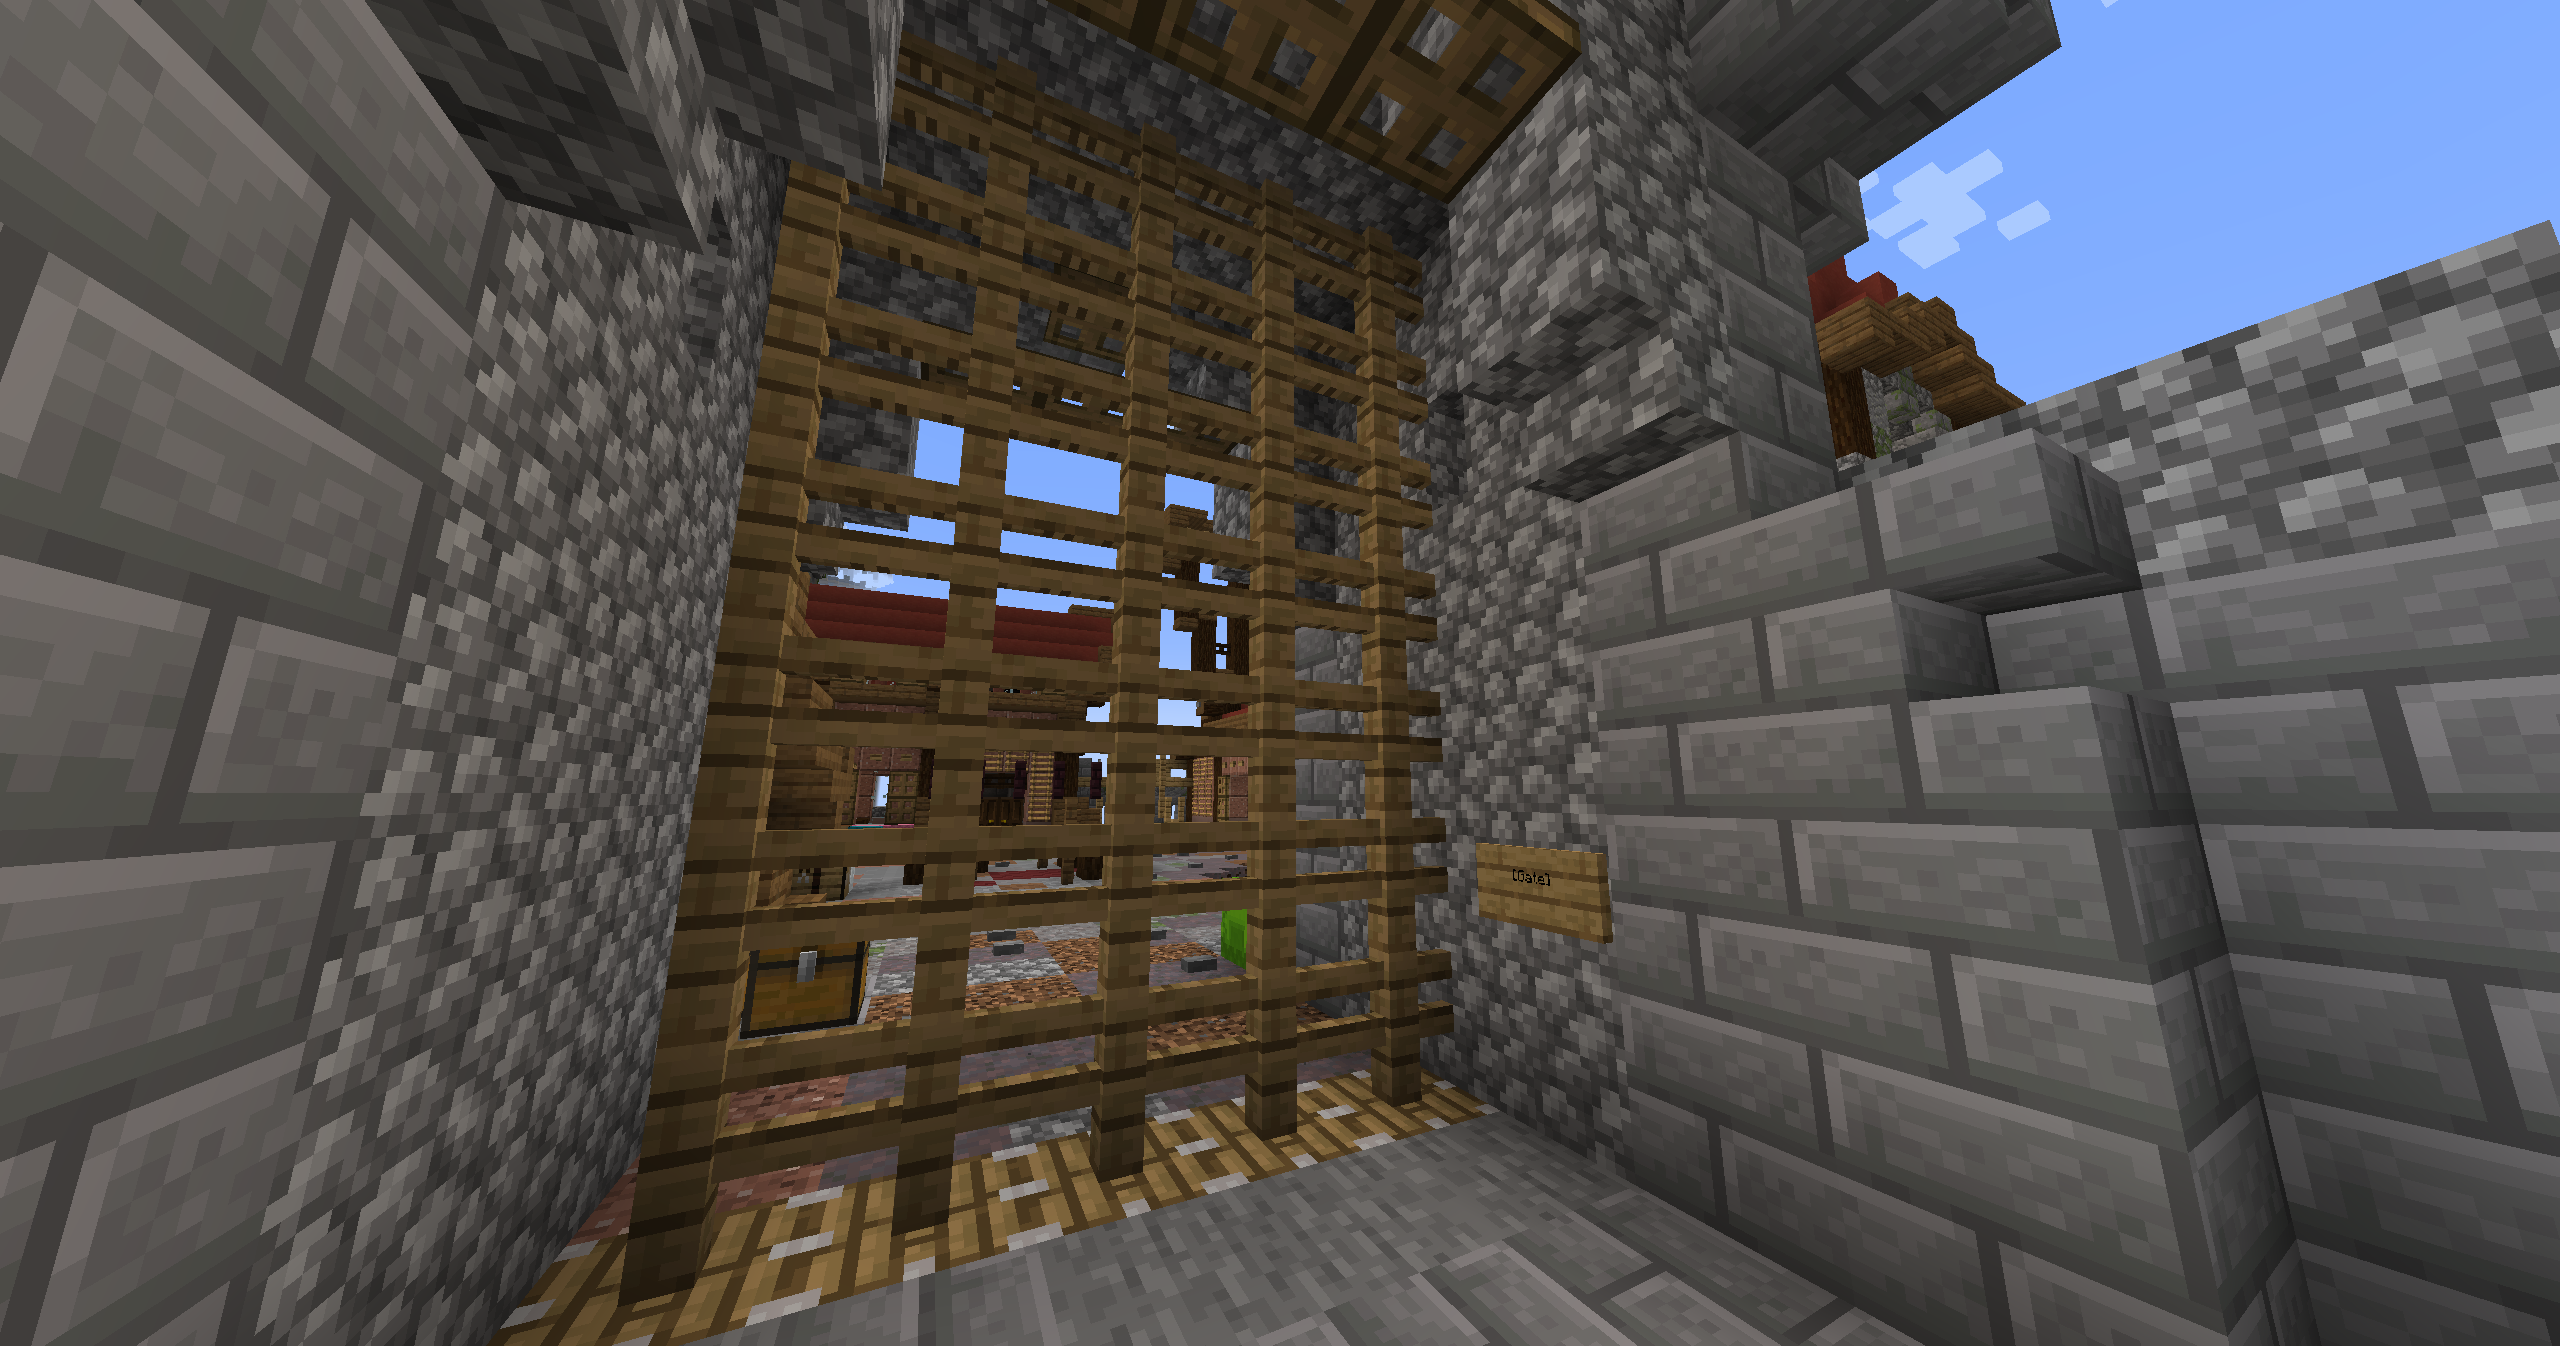
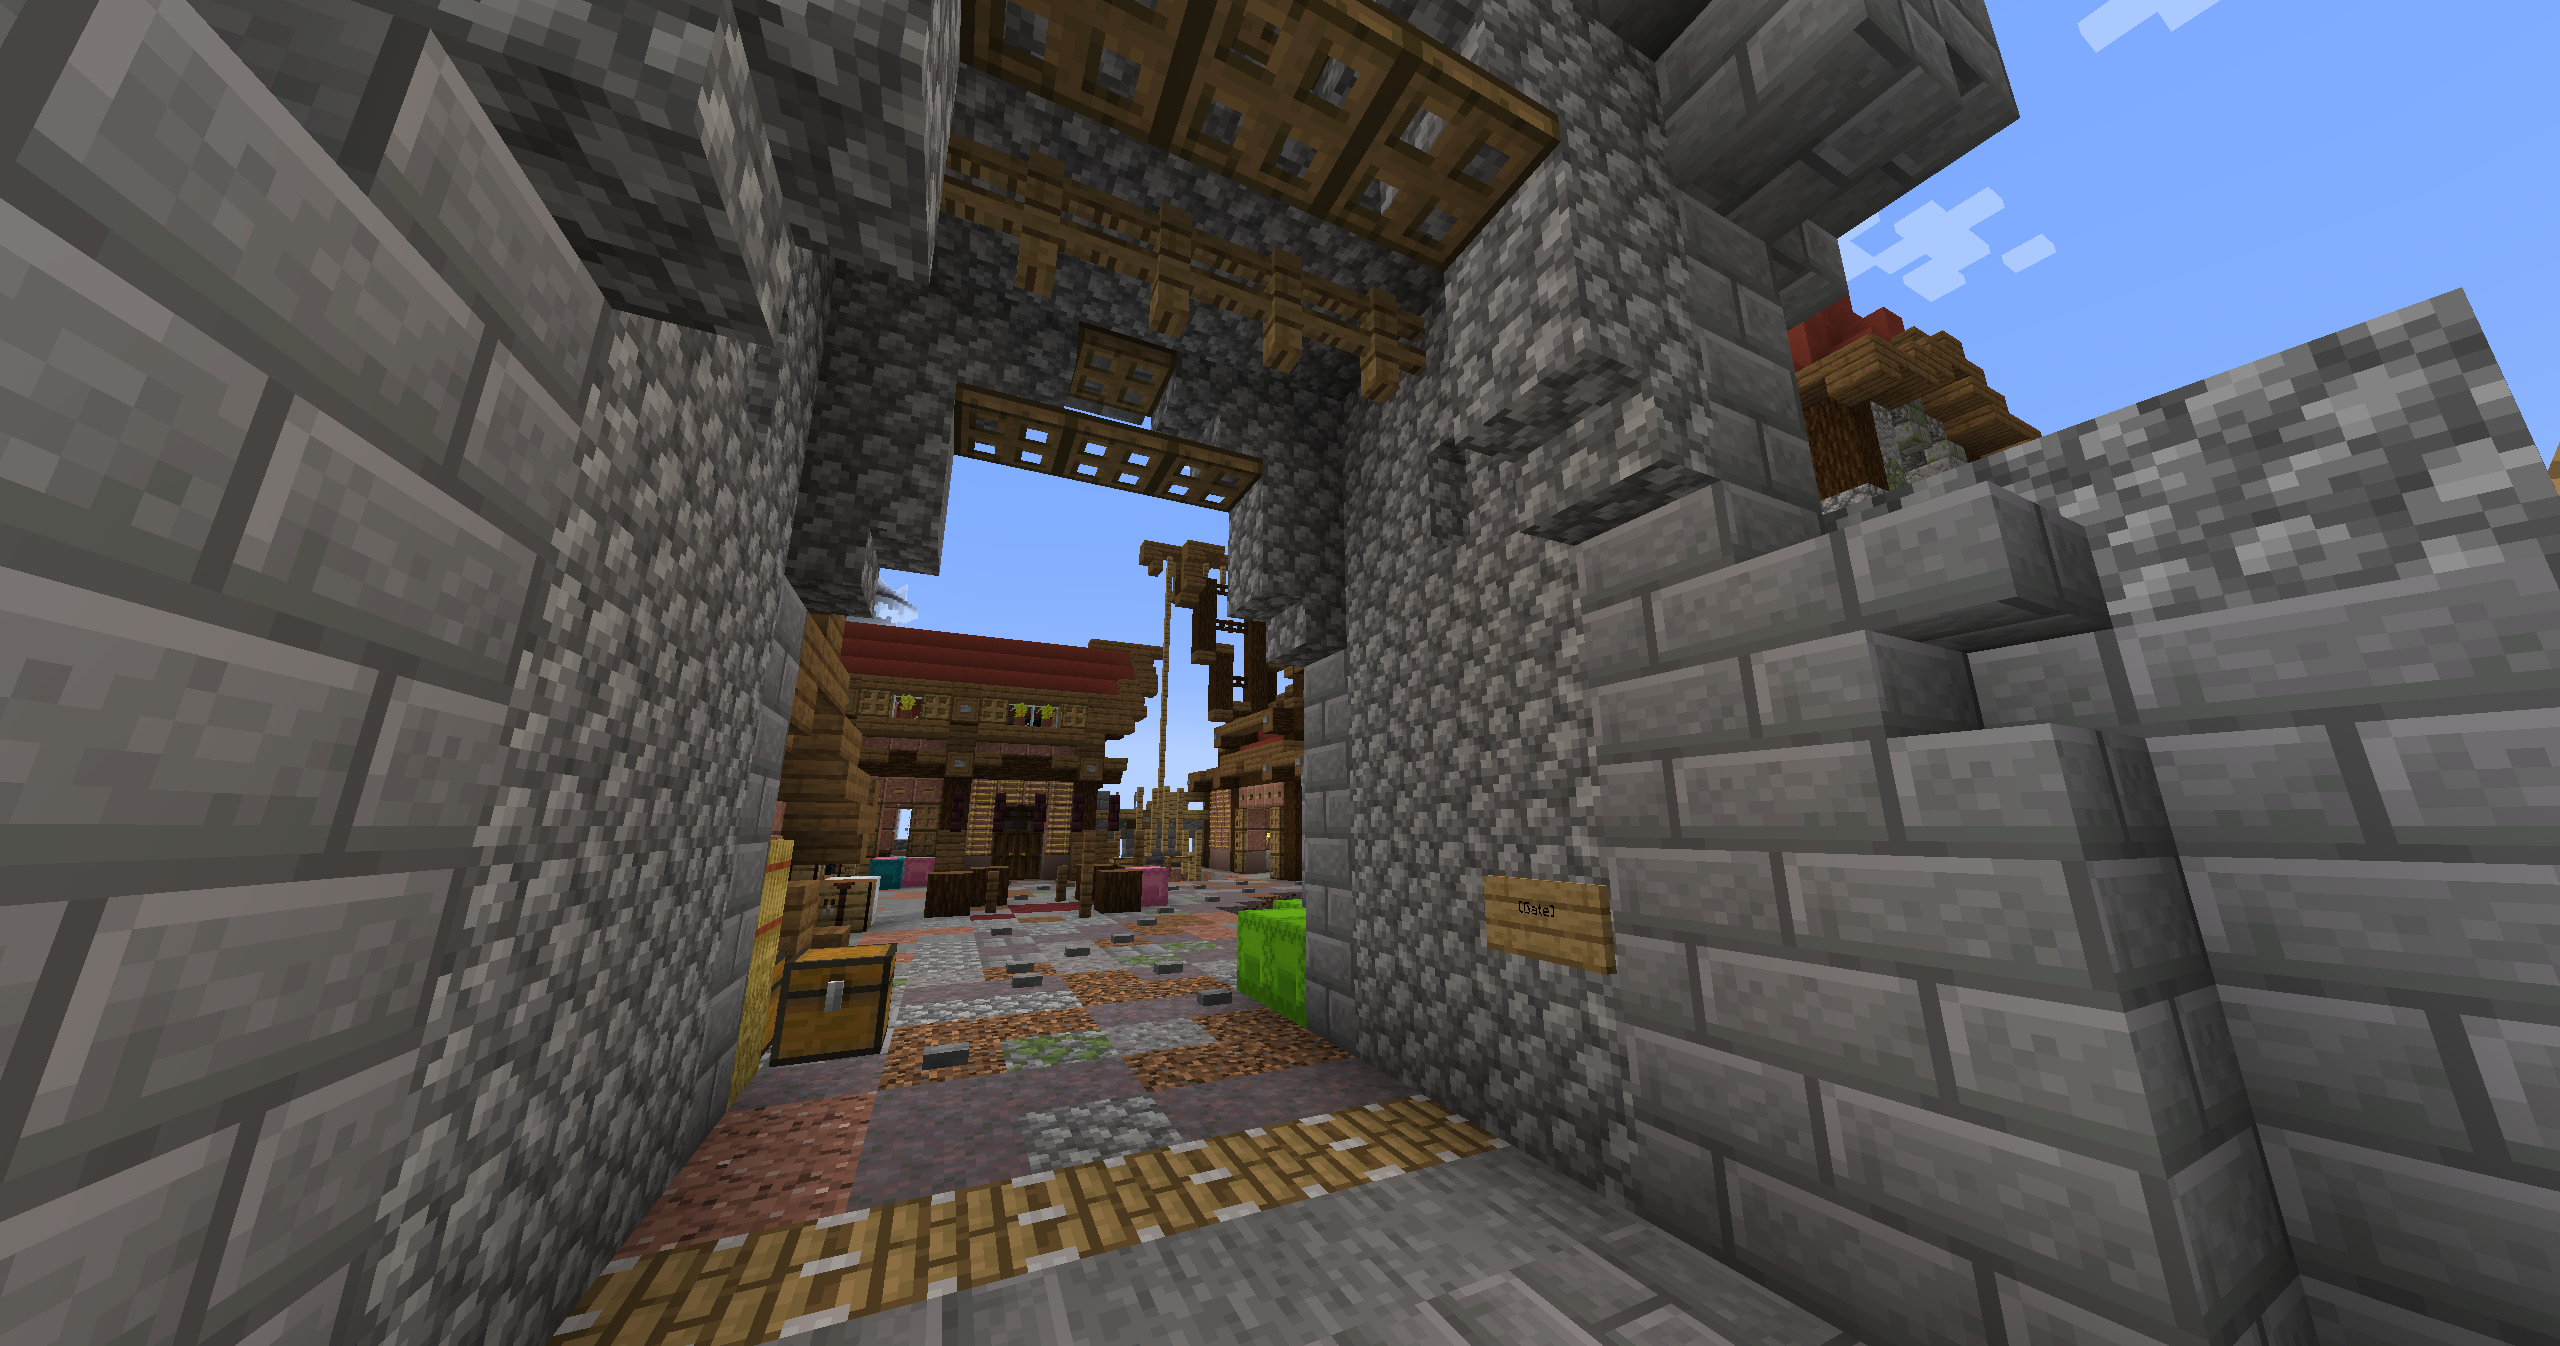
Gates
Gates are done by placing a sign with [Gate] within 3 blocks horizontally or 6 vertically of the gate. A gate consists of fences in a vertical rectangle, with a solid block at their top. Right clicking the sign will retract the fences into the top of the gate.
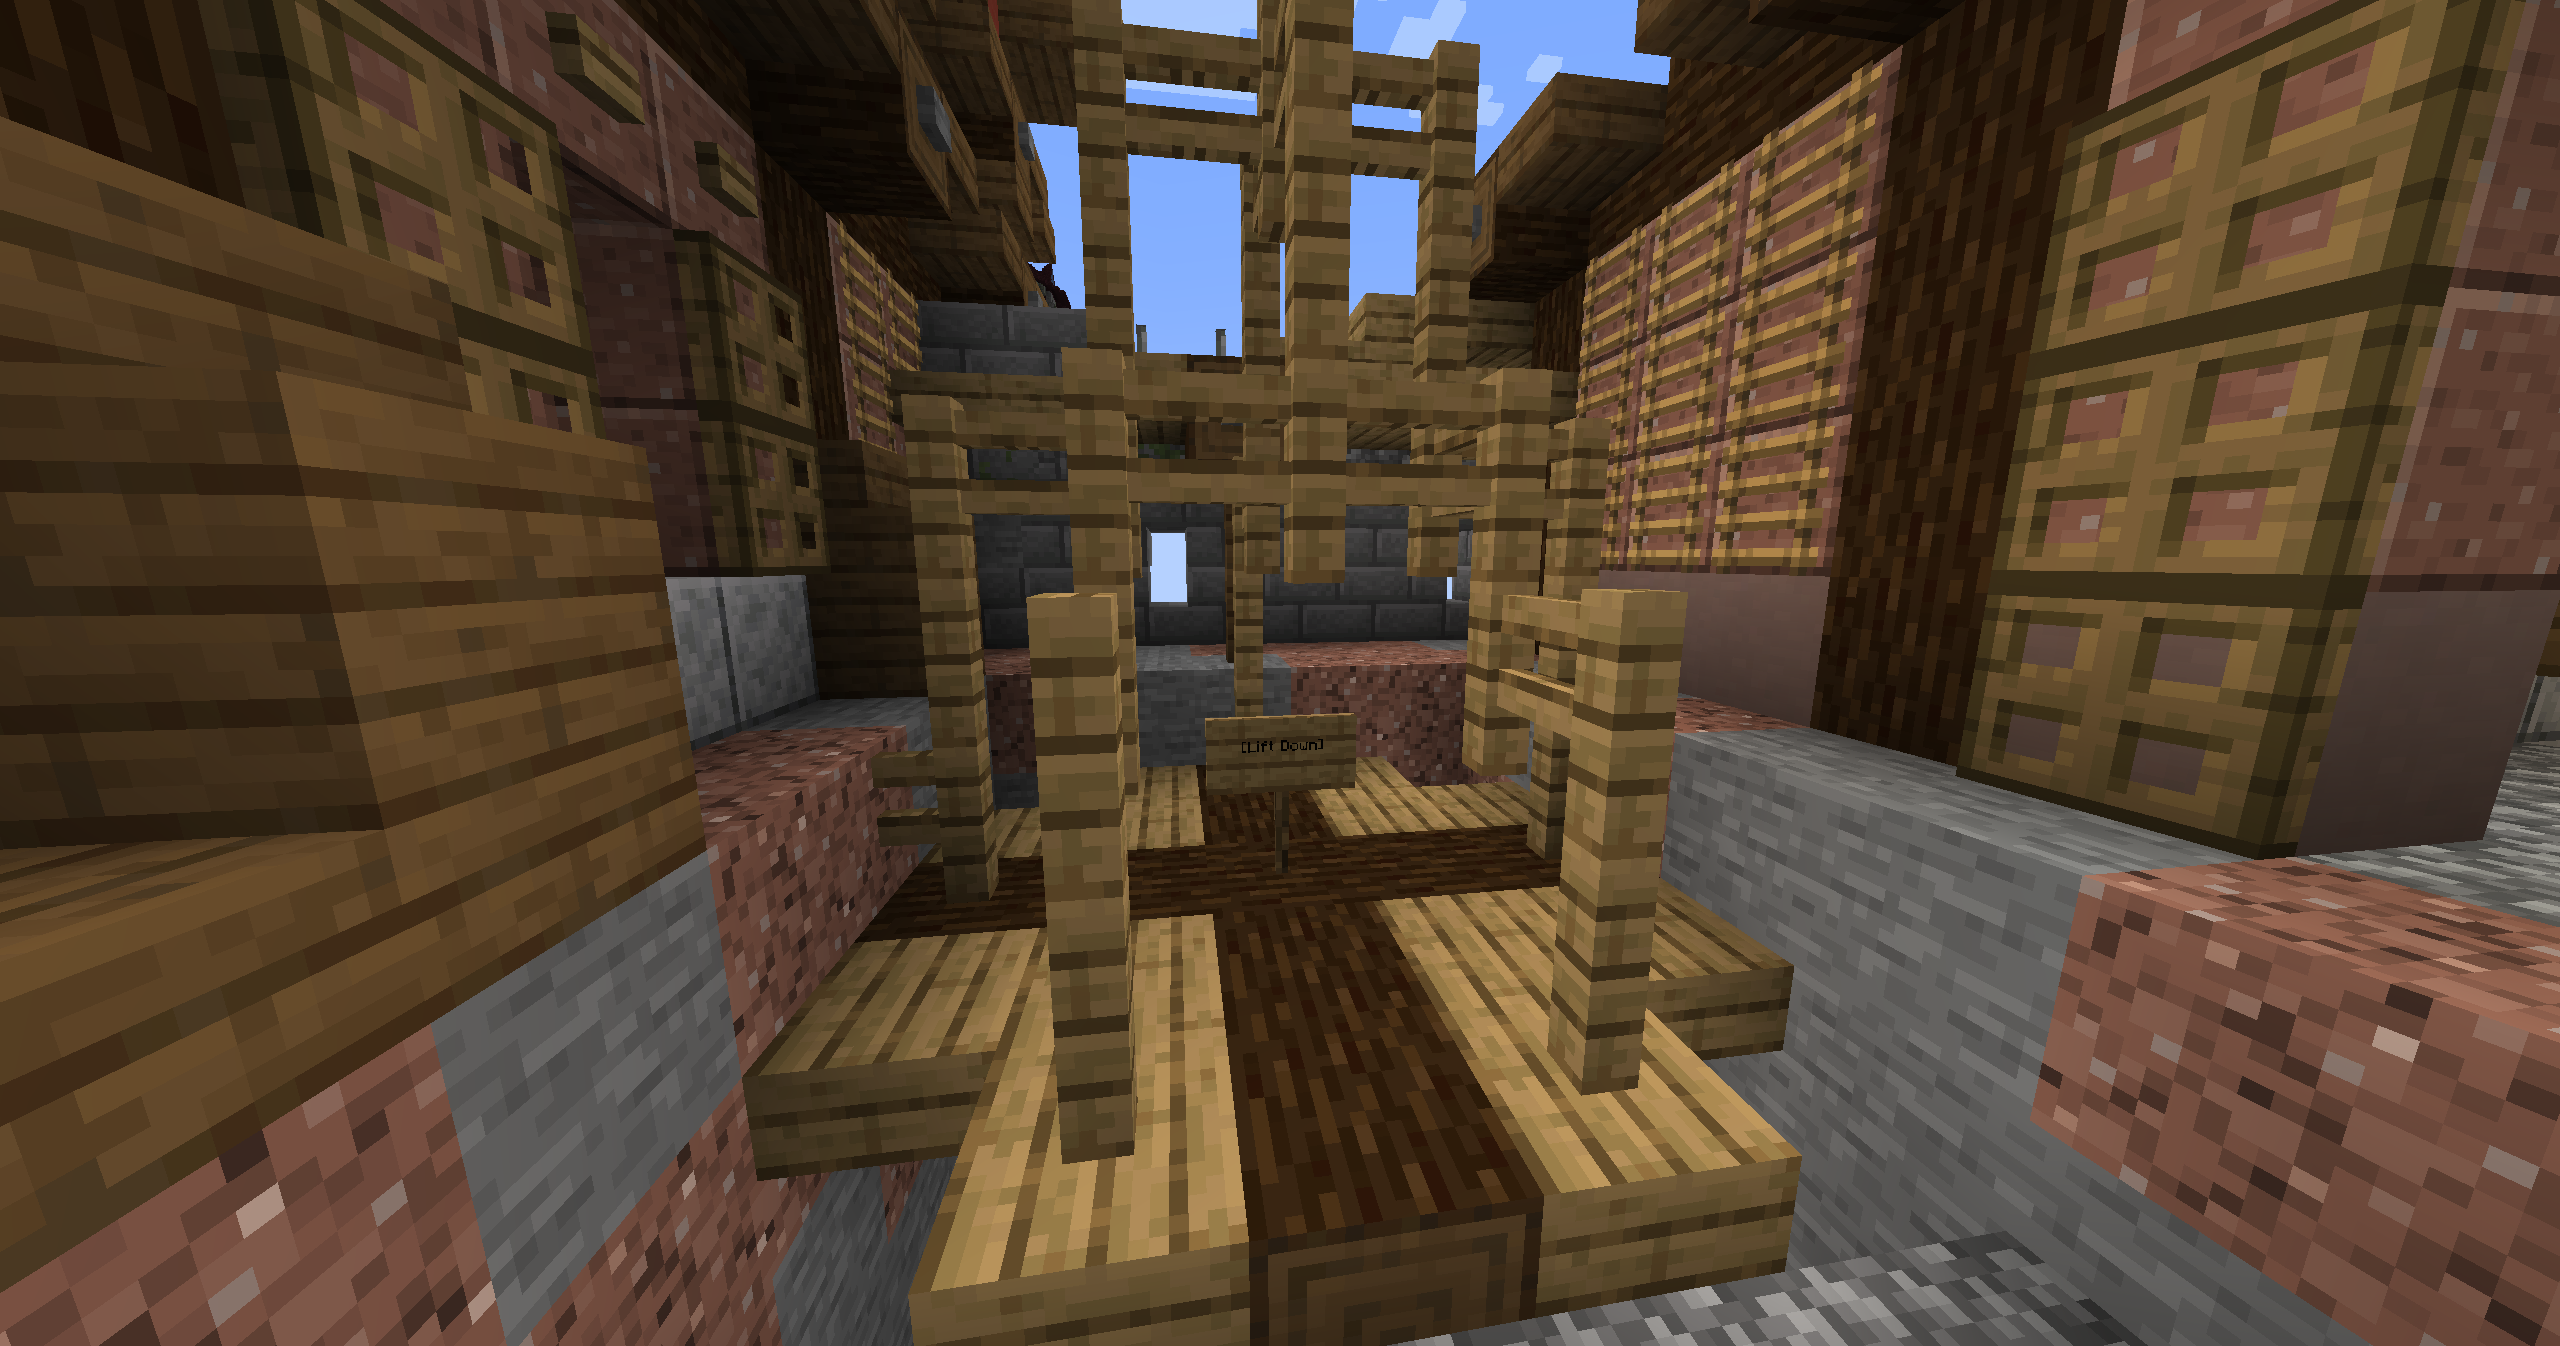
Lifts
Lifts are done by placing [Lift], [Lift Up] or [Lift Down] on the second line of 2 signs.
[Lift Up] and [Lift Down] allow for travel vertically between the two signs.
[Lift] allows travel to, but not from, the sign.
You can name your floor by putting it's name on the first line of the sign. You can also use buttons by placing the sign on a block, and placing the button on the opposite side. Both the start and end location must be button lifts.
Hidden Switches
Hidden Switches are done by placing a sign on a block with [X] on the second line. Right click the block to activate a button or lever near the sign. Perfect for hideouts and secret entrances. Just hope someone doesn't randomly click the wall!